Before & After Images
Phase I Treatment

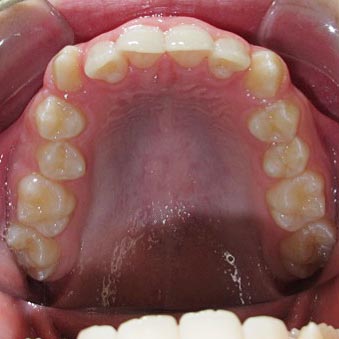
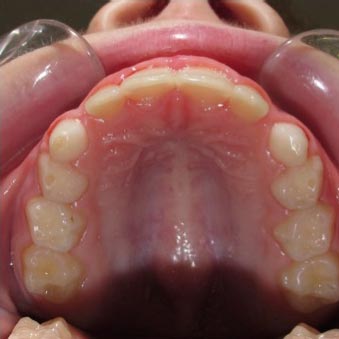
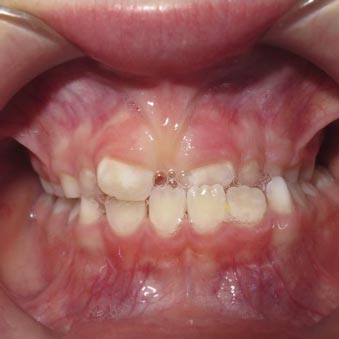
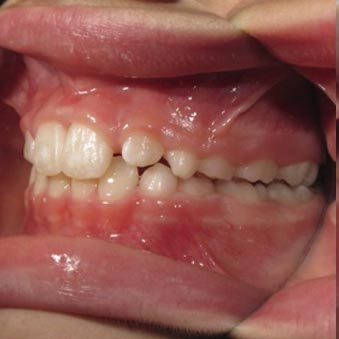
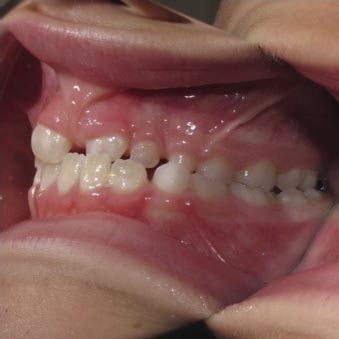
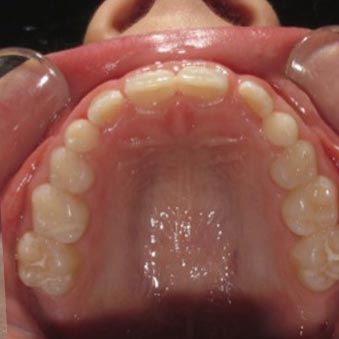
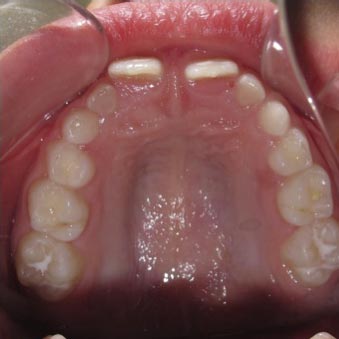
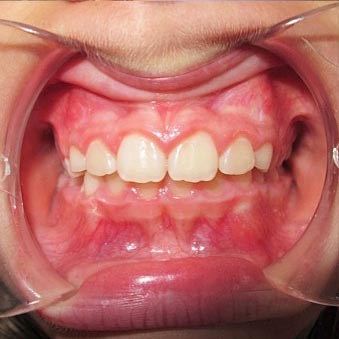
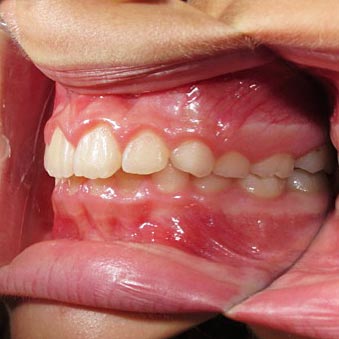
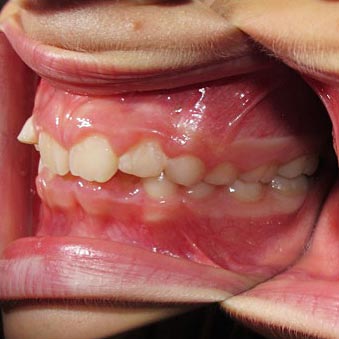
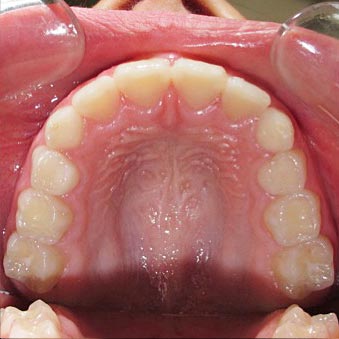
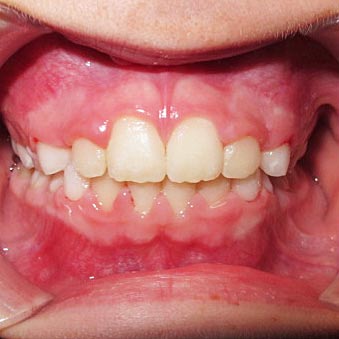
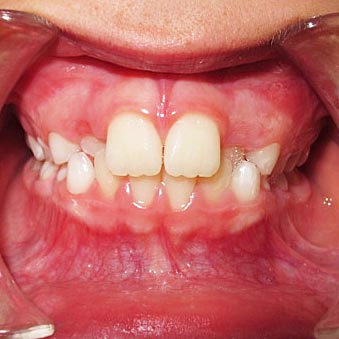
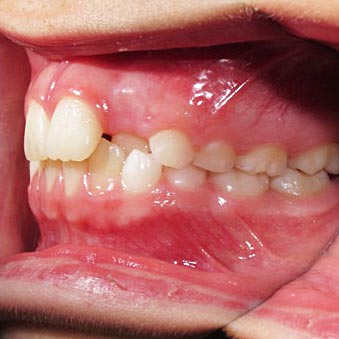
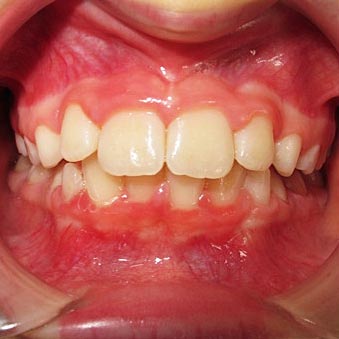
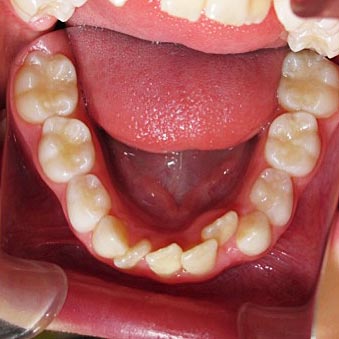
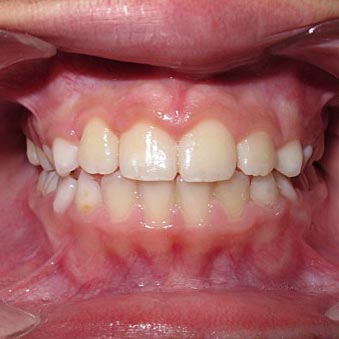
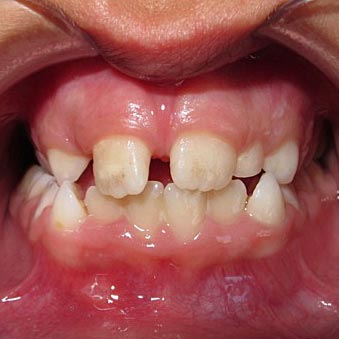
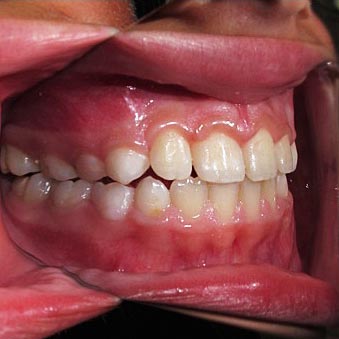
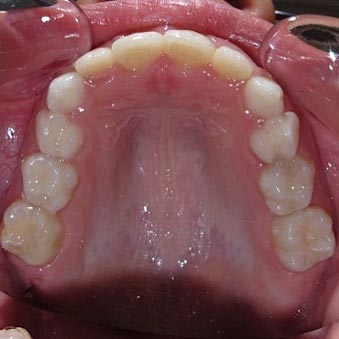
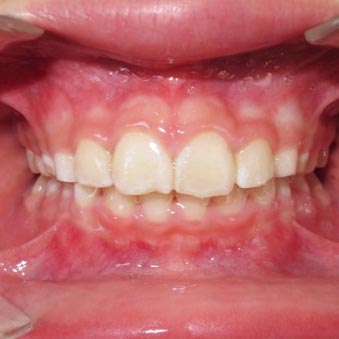
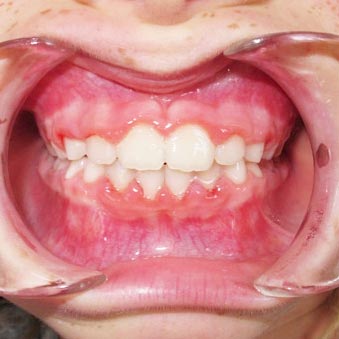
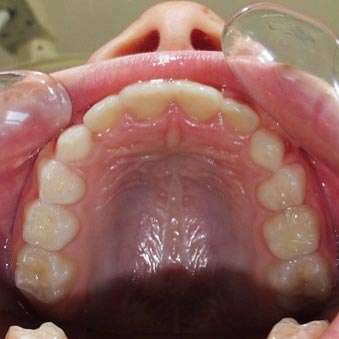
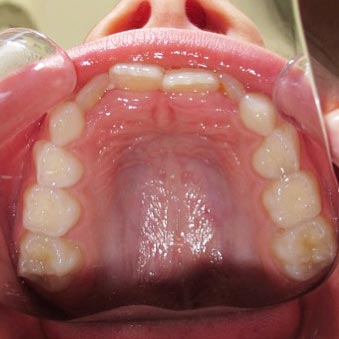
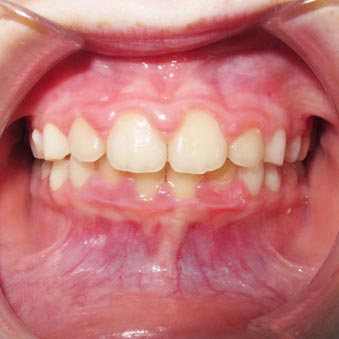
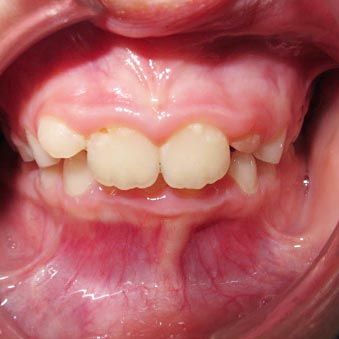
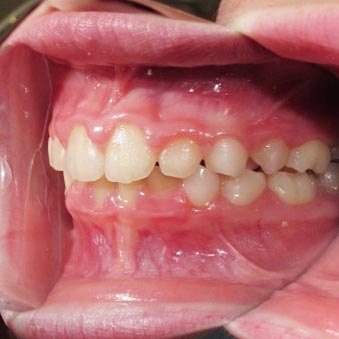
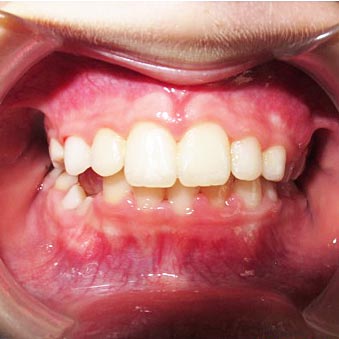
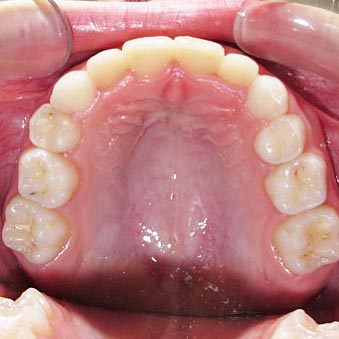
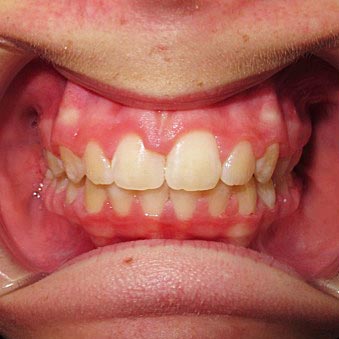
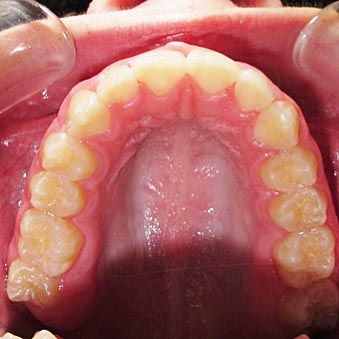
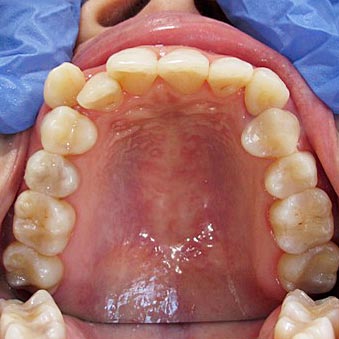
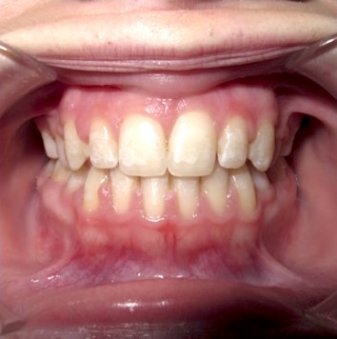
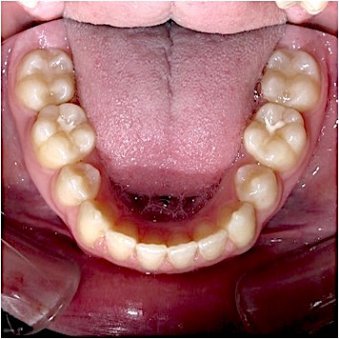
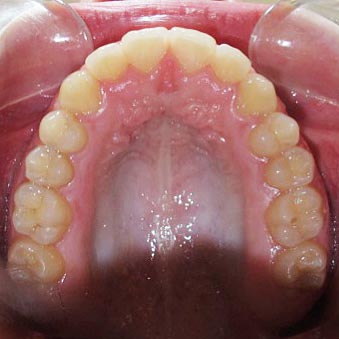
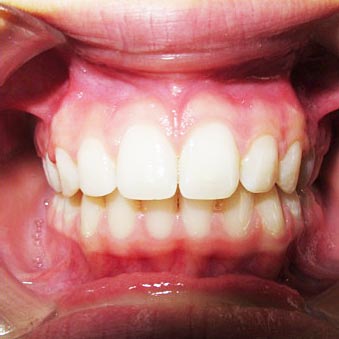
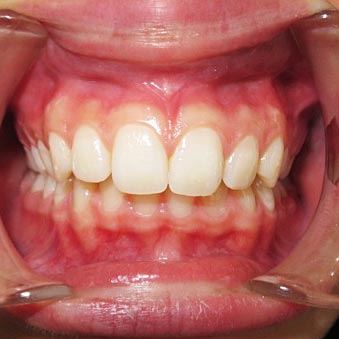
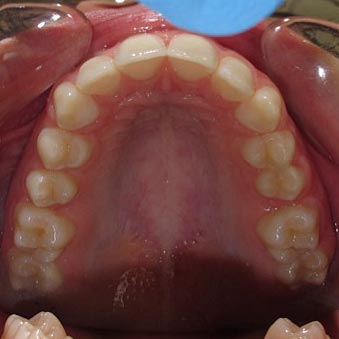
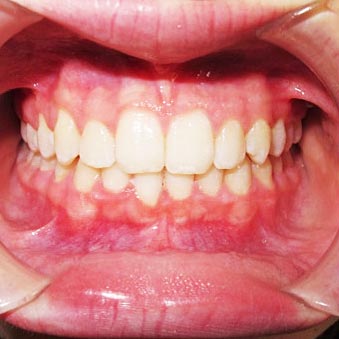
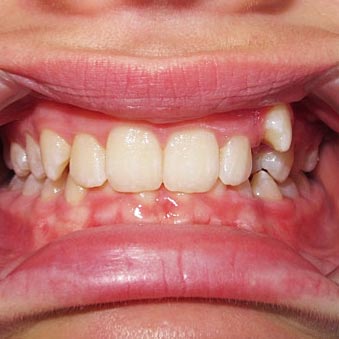
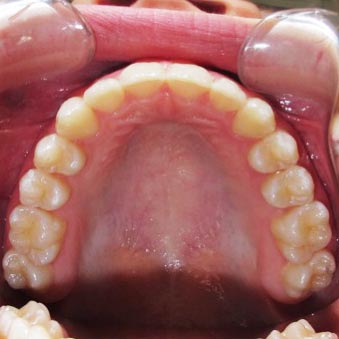
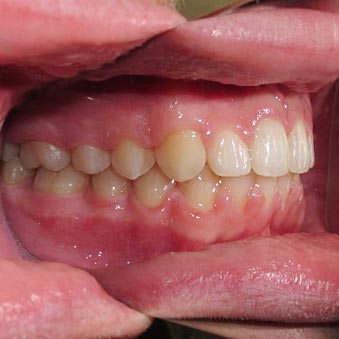
TB After

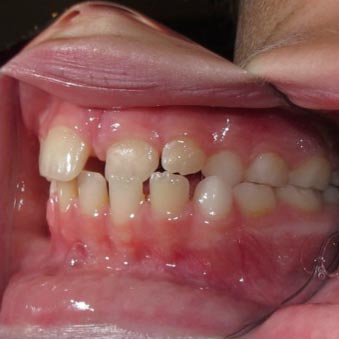
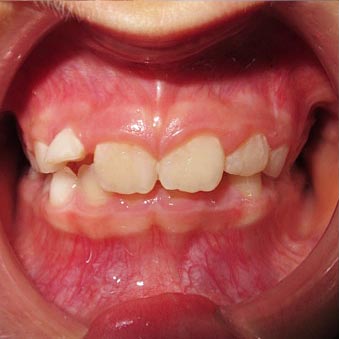
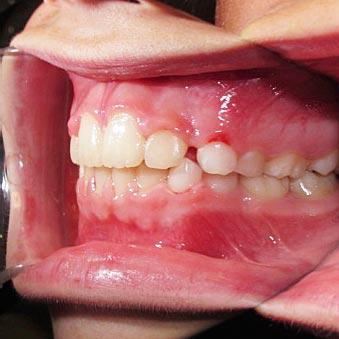
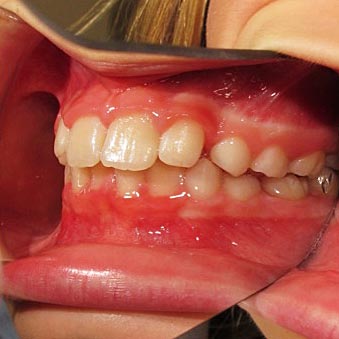
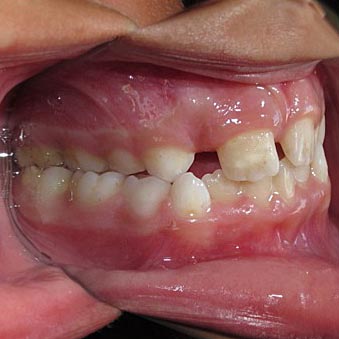
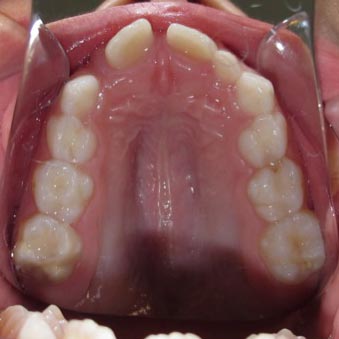
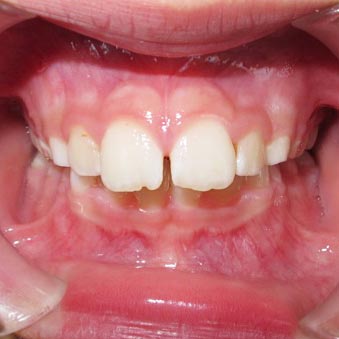
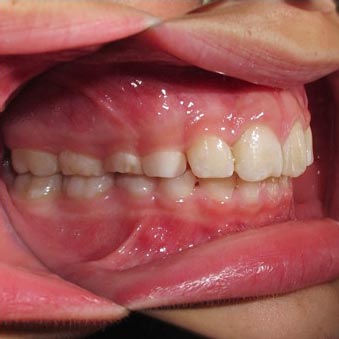
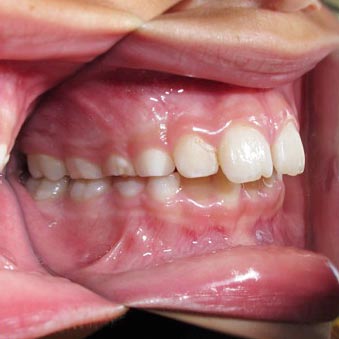
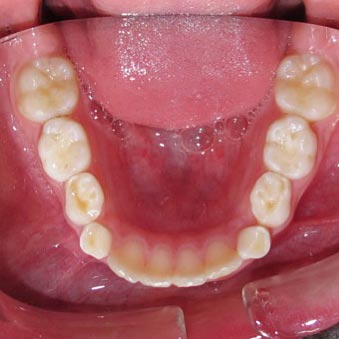
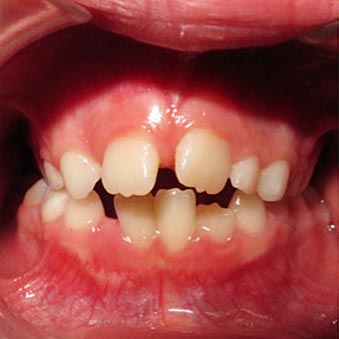
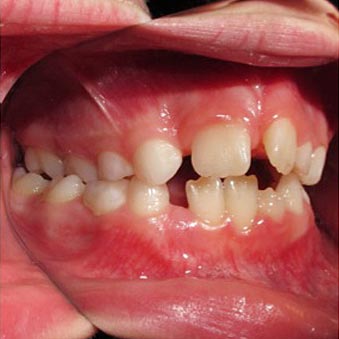
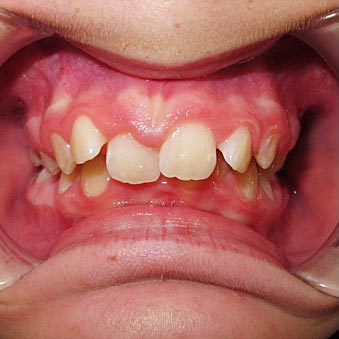
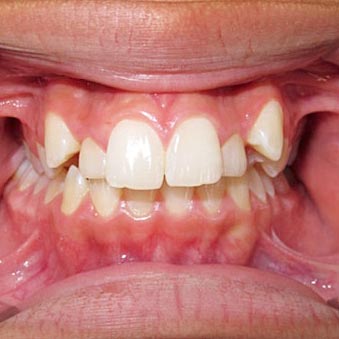
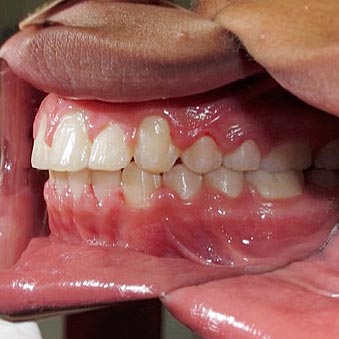
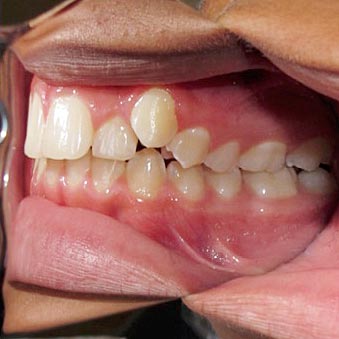
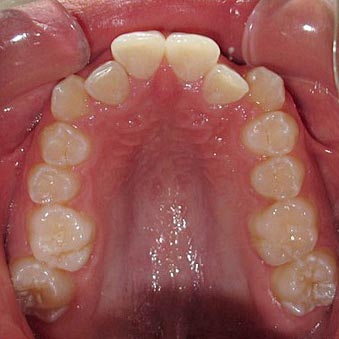
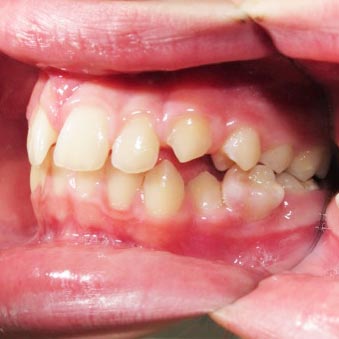
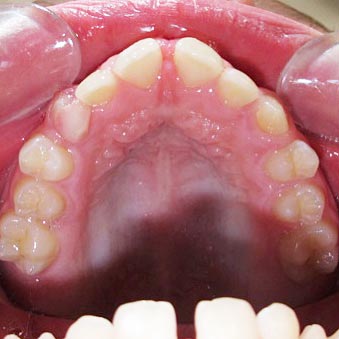
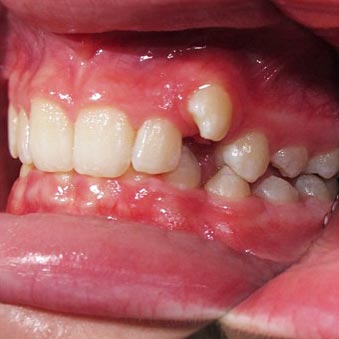
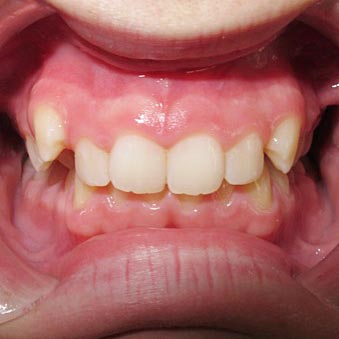
TB Before
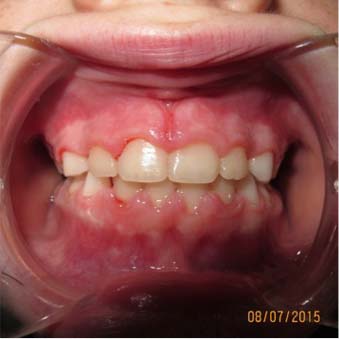
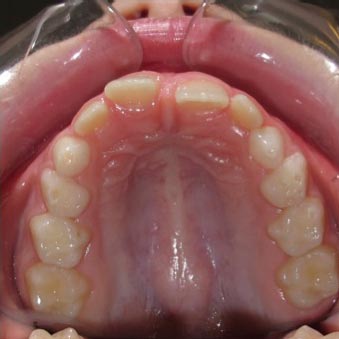
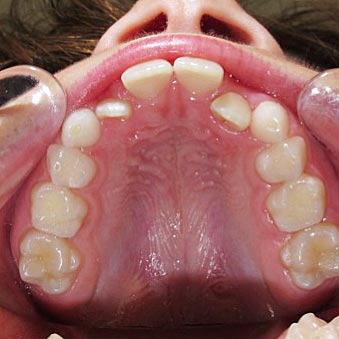
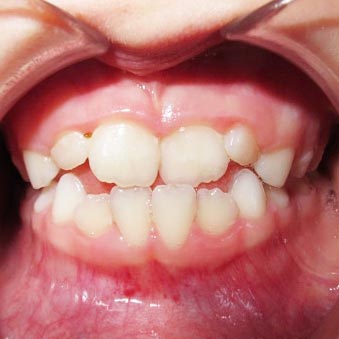
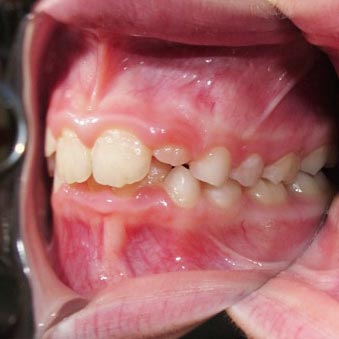
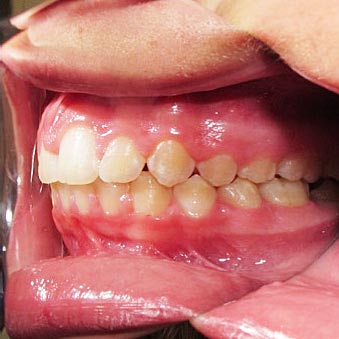
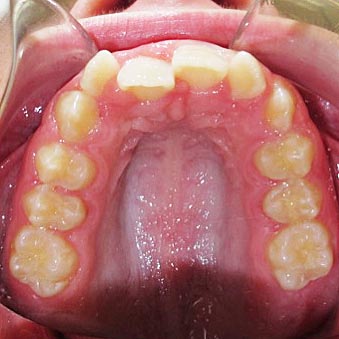
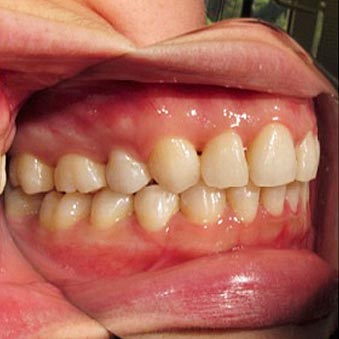
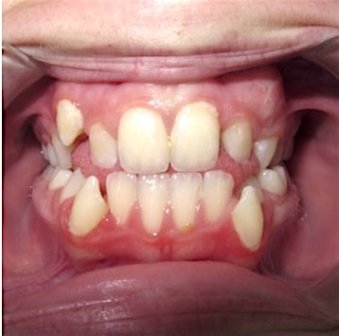
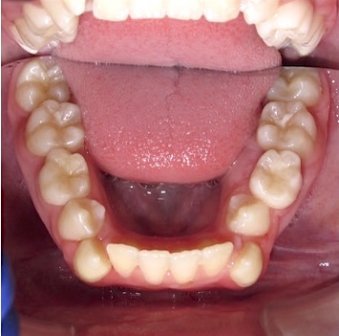
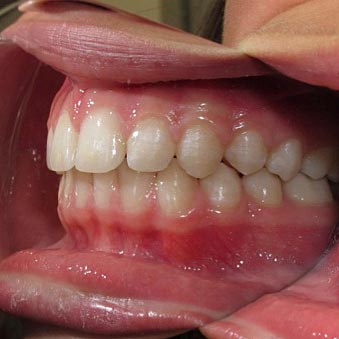
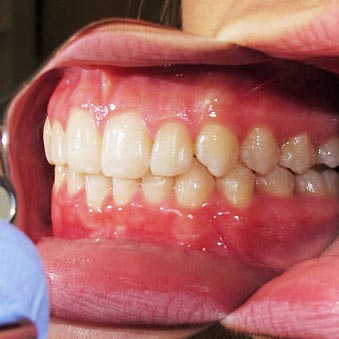
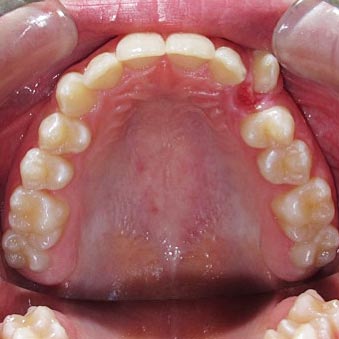
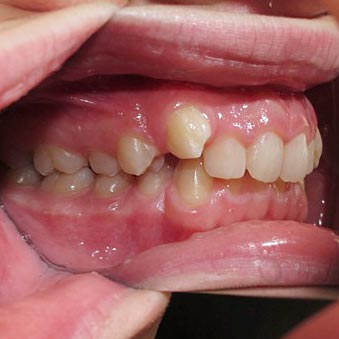
TB After
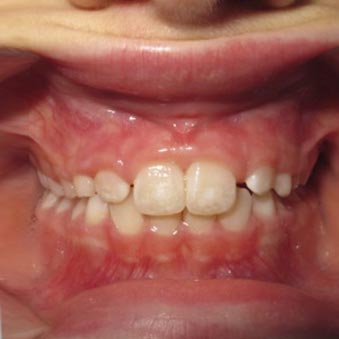
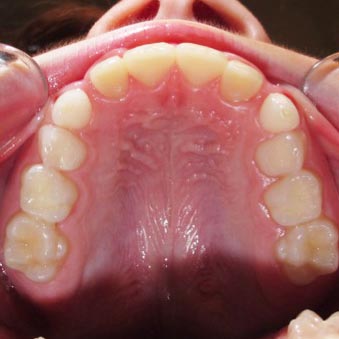
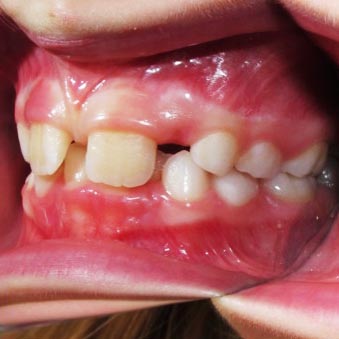
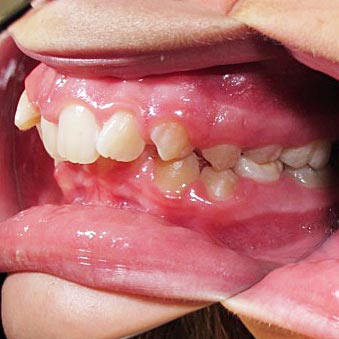
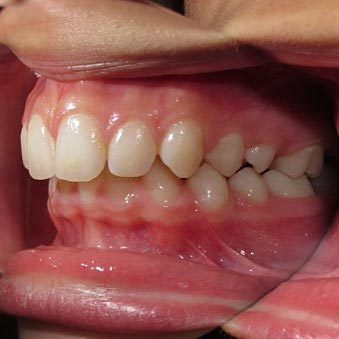
TB Before
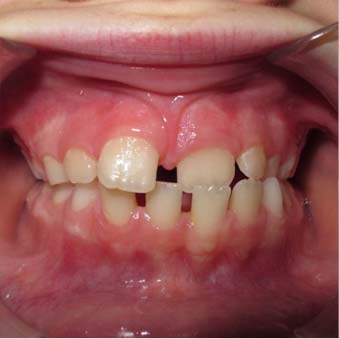
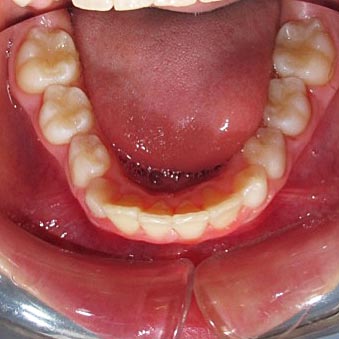
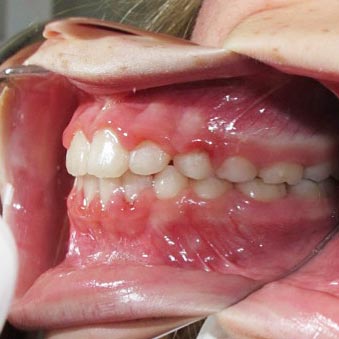
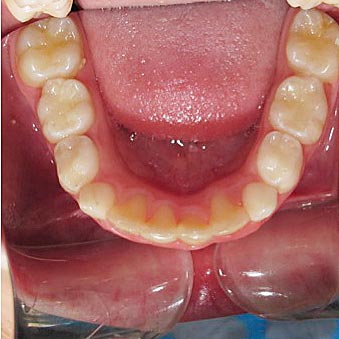
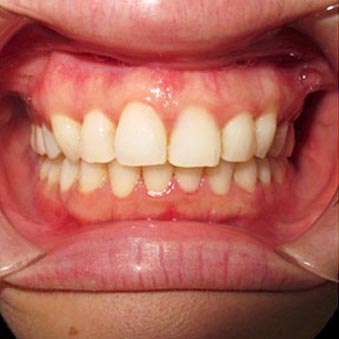
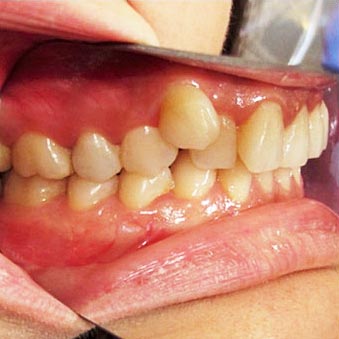
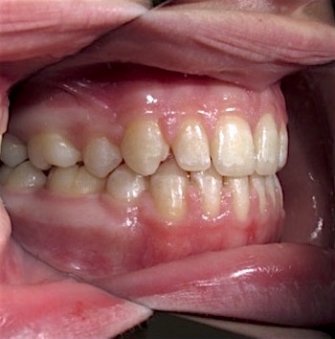
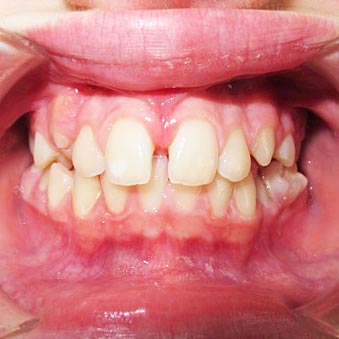
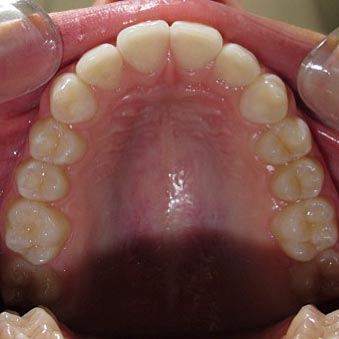
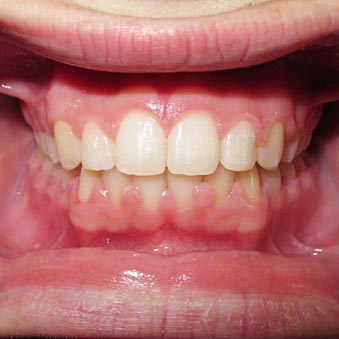
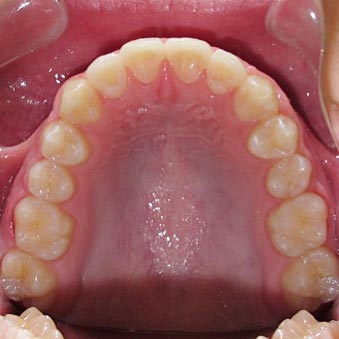
TB After
TB Before
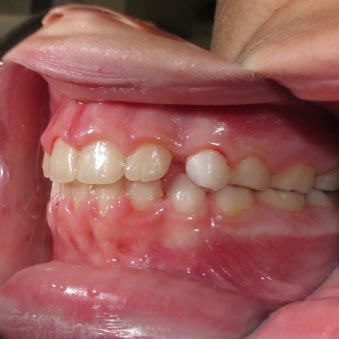
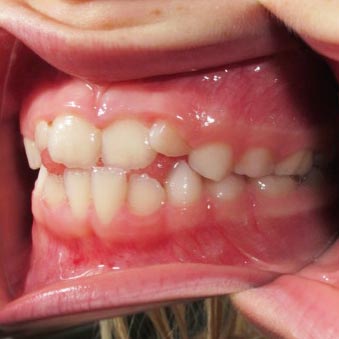
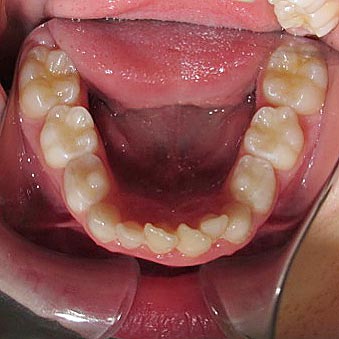
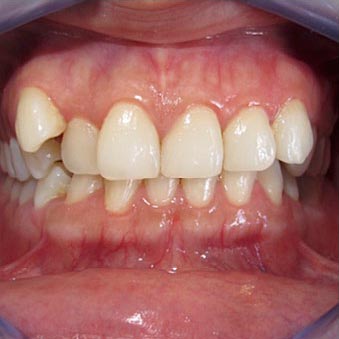
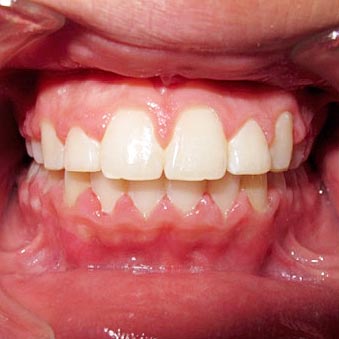
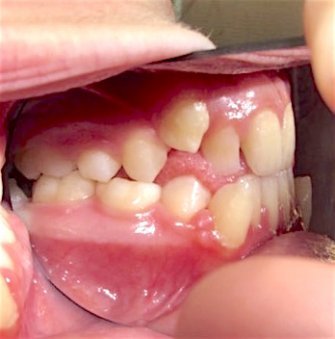
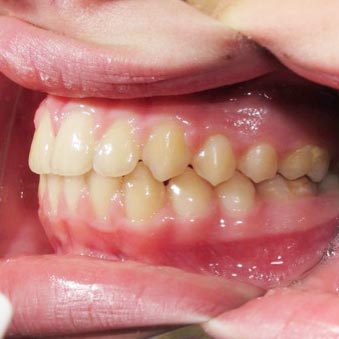
TB After
TB Before

SP After

SP Before
SP After
SP Before
SP After
SP Before
SP After
SP Before

SR After

SR Before
SR After
SR Before
SR After
SR Before
SR After

SR Before

HG After

HG Before
HG After
HG Before
HG After
HG Before
HG After
HG Before

KC After

KC Before
KC After

KC Before
KC After
KC Before
KC After
KC Before

CS After

CS Before
CS After
CS Before
CS After
CS Before
CS After
CS Before

LO After

LO Before
LO After
LO Before
LO After
LO Before
LO After

LO Before

JB After

JB Before
JB After
JB Before
JB After
JB Before
JB After
JB Before

JD After

JD Before
JD After
JD Before
JD After
JD Before
JD After
JD Before

CW After

CW Before
CW After
CW Before

CW After
CW Before
cw-after-4

cw-before-4
Comprehensive Treatment

LM After

LM Before
LM After
LM Before
LM After
LM Before
LM After
LM Before

TD After

TD Before
TD After
TD before

TD After
TD Before
TD After
TD Before

KG After

KG Before
KG After
KG Before
KG After
KG Before

KG After
KG Before

SB After

SB Before
SB After
SB Before
SB After
SB Before
SB After
SB Before

CG After

CG Before

CG After
CG Before
CG After
CG Before
CG After
CG Before

MA After

MA Before
MA After
MA Before
MA After
MA Before
MA After
MA Before

NG After

NG Before
NG After
NG Before
NG After
NG Before
NG After
NG Before

BS After

BS Before
BS After
BS Before
BS After
BS Before
BS After